Before getting our hands dirty we need to cover some basics. In this chapter we are going to dissect a keyboard into its main components and for each of them we’ll analyze cost, availability and difficulty to build.
We will also check our shopping list and make sure we have all the tools needed for our upcoming endeavor.
Hitting the wallet
How much does building a custom keyboard cost?
This is the most common question about DIY keyboards and also the most difficult to answer.
While it is true that you can build a keyboard out of cardboard or other cheap materials, as soon as you raise the quality bar it’s easy to spend thousands of dollars especially if your project diverts greatly from a standard size and layout.
If I had to make a ballpark estimate I’d say a decent quality custom goes around $150, but I’ve build prototypes for as low as $15. It’s really up to you, depends on the quality and the sophistication you are aiming to.
To better understand how the cost is distributed let’s break down a keyboard into its macro components:
- Switches
- Switch plate
- Enclosure
- PCB and controller
- Keycaps
- Extras
Not all of the above are required (you can do without a switch plate) and some other bits are actually needed (like diodes) but it’s a good enough simplification.
Switches
You need about $60 in switches for a medium sized keyboard equipped with original Cherry MX. Cherry has become the de-facto standard in mechanical keyboards but in recent years many clones are surfacing. Viable alternatives come from Gateron and Kailh and they usually cost half of an original Cherry counterpart.
If you like Alps switches instead, Matias produces fine Alps clones that go for $50 every 200 pieces or of course you can dismantle an old keyboard.
In fact keyboard enthusiasts often consider vintage switches to be higher quality than modern ones and it’s not just the grumpy retro-junkie talking, it has been proved.
Switch plate
While not technically needed in all scenarios, it is very likely that your keyboard will have a switch plate. It is usually laser cut out of aluminum, acrylic, stainless steel, polycarbonate or wood but nothing stops you from using other materials or even 3D print it.
Based on shape, size and material the plate should set you off by $10-50.
Enclosure
The keyboard case can be the most expensive and hard to get part of your project.
The easiest would be to reuse the enclosure of an old keyboard, but that means constraining your build around someone else’s design. A modern keyboard inside a Commodore 64 or an Apple M0110 could be a piece of beauty but if you are after an original design you’d need to think up your case from scratch.
The most common case typologies are: layered, CNC machined, 3D printed.
Layered case
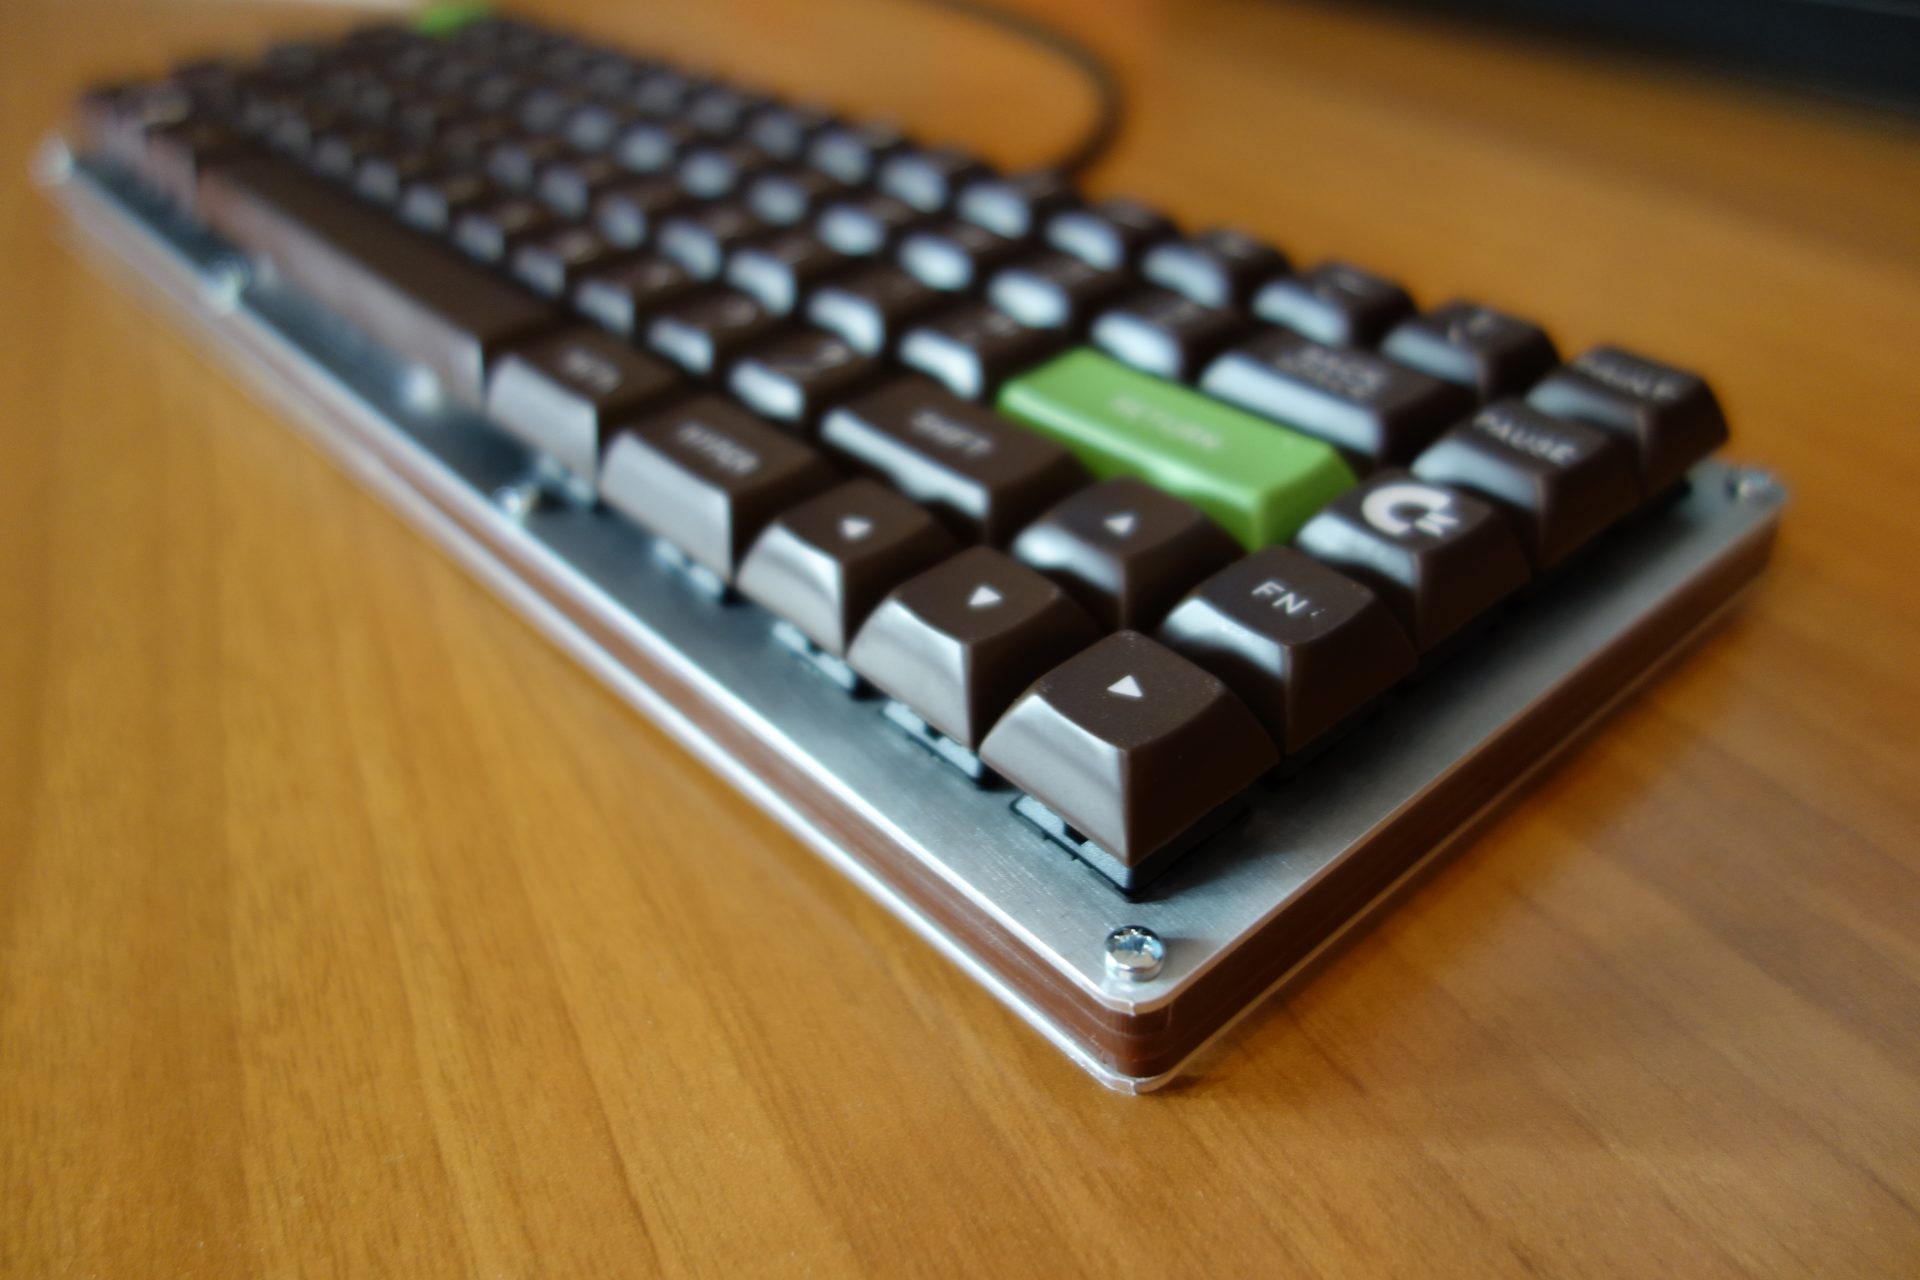
You can build your case in 1.5 to 5mm layers one on top of the other held together by a series of pass-through screws and bolts. This is very popular because the layers are easy to design with vector or CAD software and usually inexpensive to produce. They can be laser cut in acrylic, wood, aluminum or other materials. One of the creations I’m most proud of has an aluminum switch plate, a wooden body and a steel bottom (that acts as ballast). A layered case can go from $30-100 based on the material.
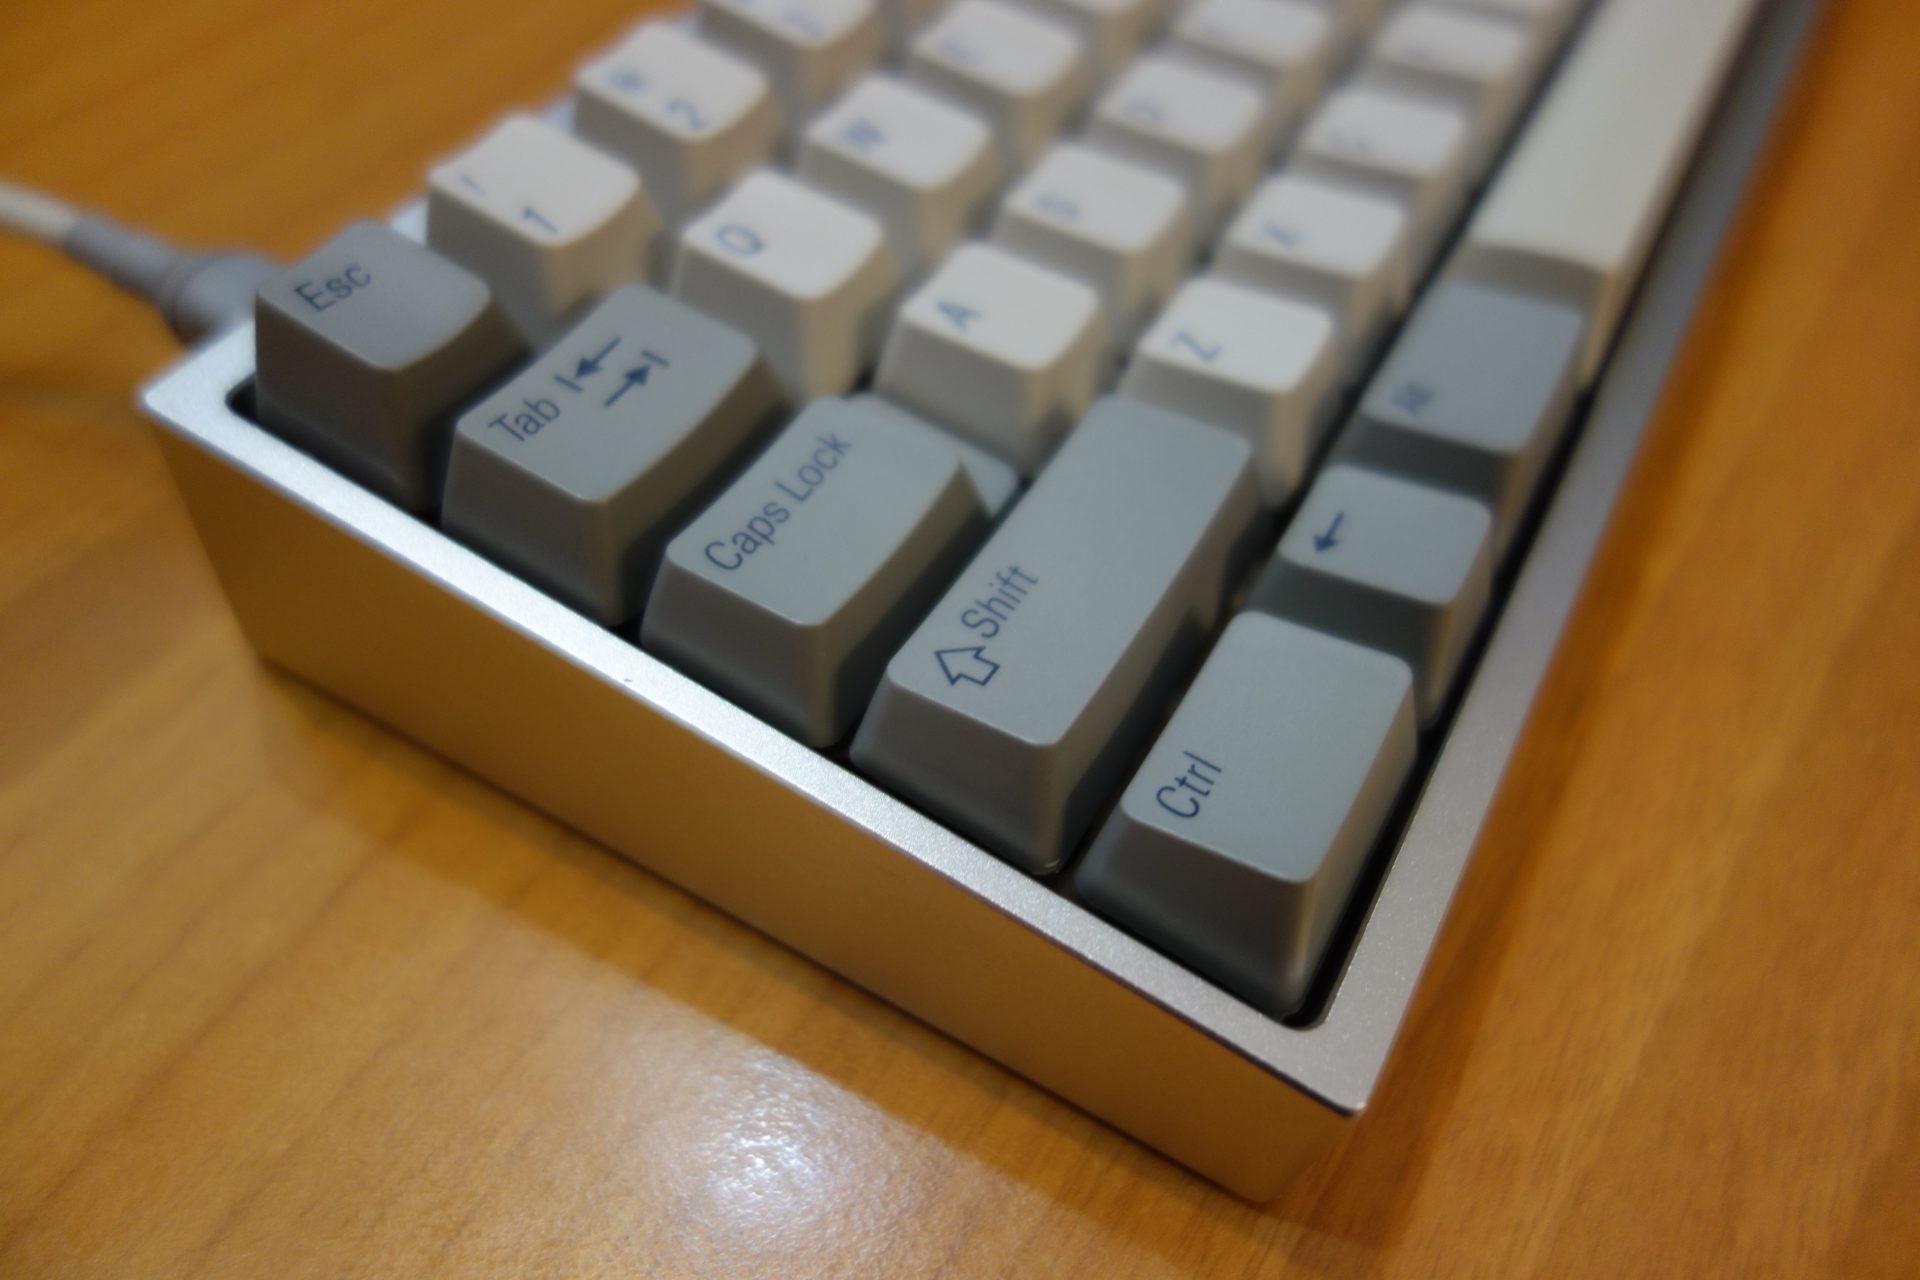
CNC Machined case
The best looking keyboards are probably machined with CNC routers but the cost can be very high. The case has to be designed with 3D software like Blender or Solidworks, so you need to learn those tools. Often you can find ready to use CNC’d case –most likely for 60% layouts– but that would set you off by $50-100 to say the least.
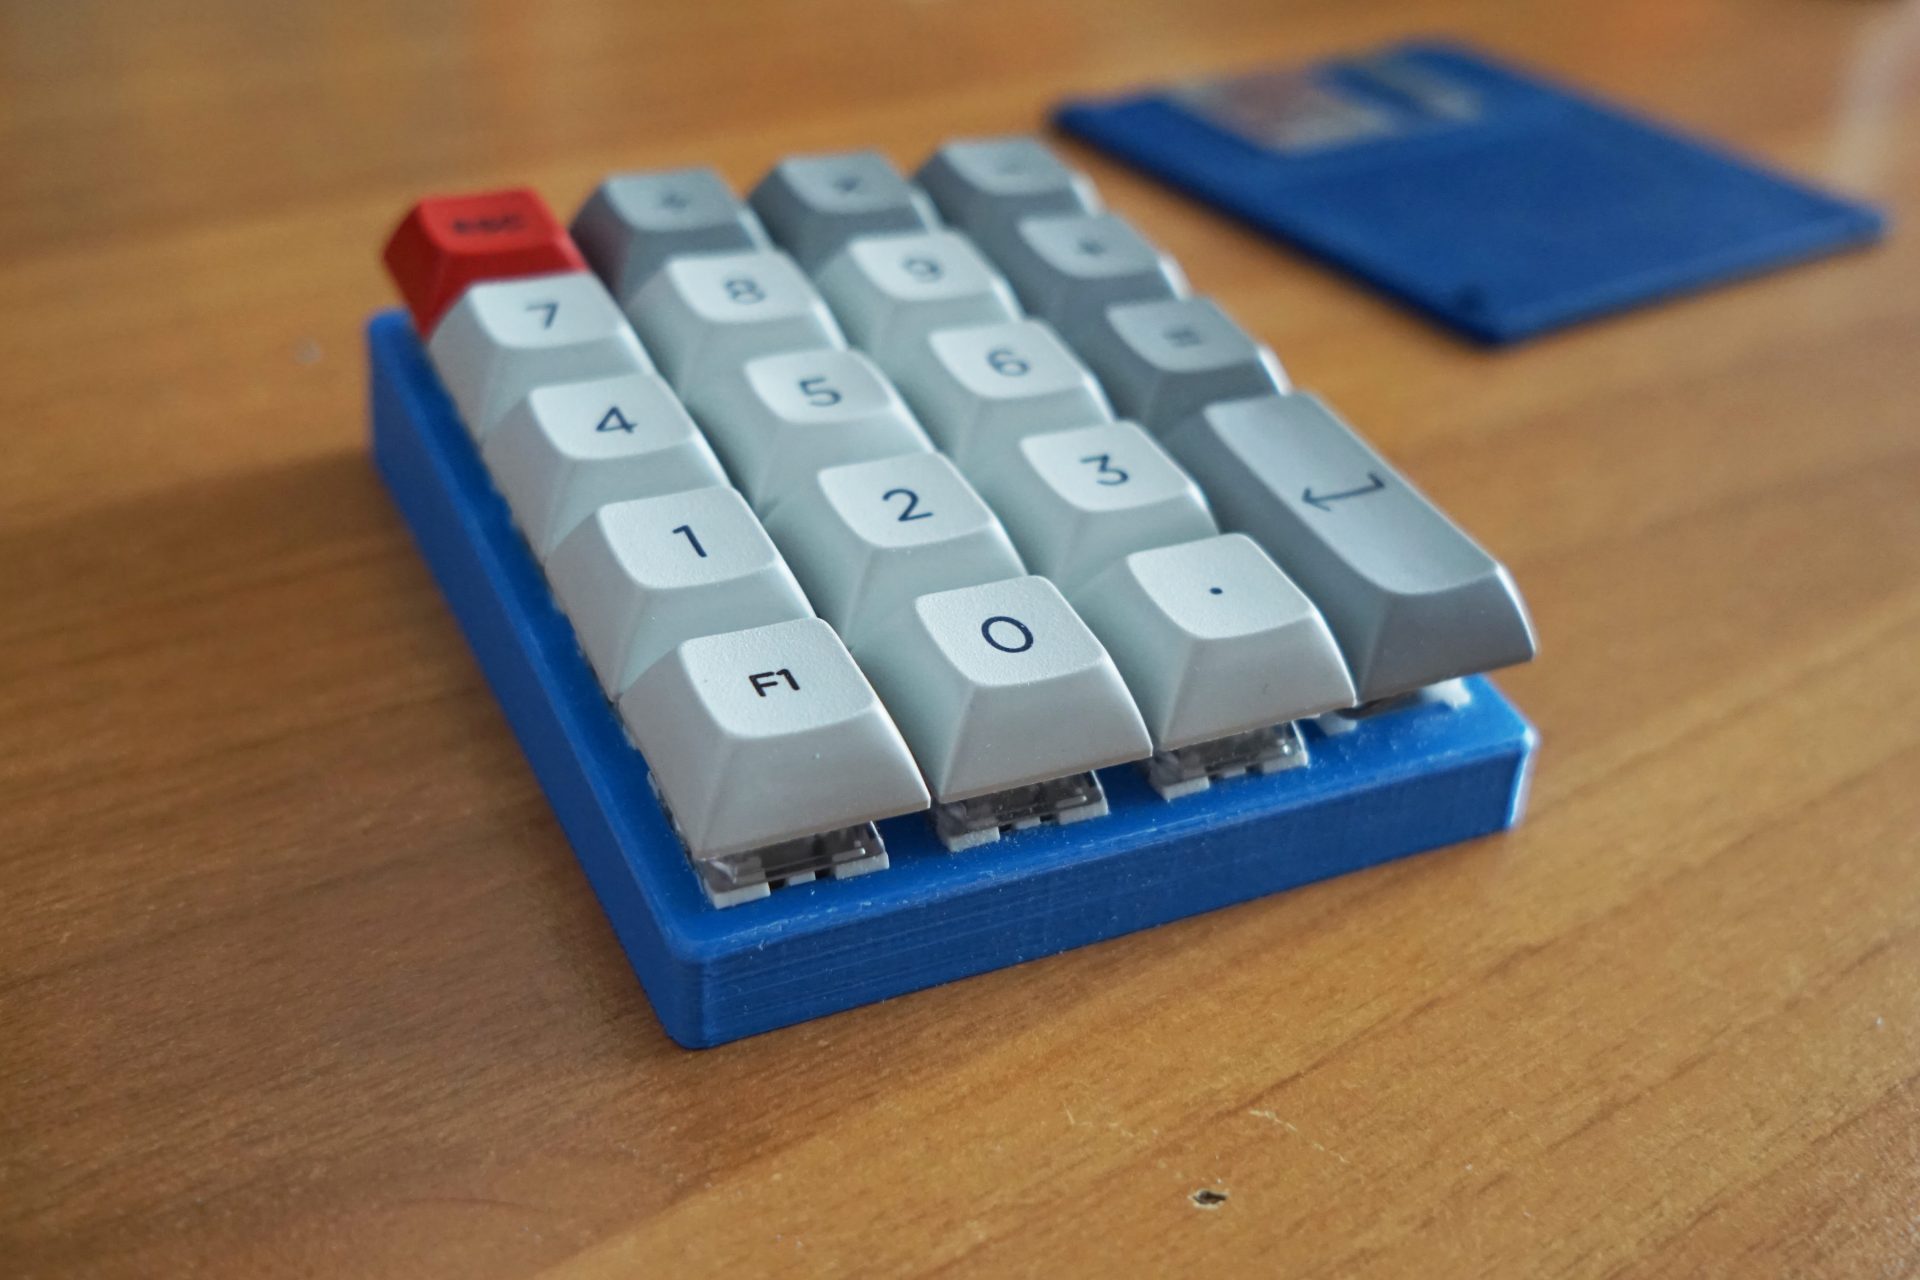
3D printed case
The new kid in town. A keyboard case is a quite big chunk of plastic, so online services that bill per volume (like Shapeways) end up being rather expensive, but 3D printers are more and more common nowadays and chances are that you have access to one. In that case 3D printing is definitely a viable option.
Print size of consumer grade printers is usually barely enough for a small 60% keyboard, though, but with a bit of creativity you should be able to split the enclosure into smaller chunks.
These are just few options but the possibilities are endless. If you are a little crafty you could carve the case out of wood or you could always recover that box of LEGO you have in attic…
With all these variables it’s hard to tell how much the case will cost. Let’s generalize in: $30-50 if you are on the cheap, $100-150 if you want something fancy.
PCB and controller
The switches need to be connected to each other in what is called a matrix. Rows and columns in the matrix are then routed to the controller where the actual magic happens.
The easiest/cheapest way is to hand-wire (sometimes called hard-wire) the switches directly between them with wires and diodes. That is perfectly reasonable for a prototype and if you are methodical with your soldering iron the end result could be really nice.
If you want something more polished you could design your own PCB. That of course requires some skills in electronics and a deeper wallet. The cost of prototype PCBs is around $30/piece if you order just a bunch of them (without components). Price drastically drops in mass production, but let’s try to keep things simple at this stage.
The most user friendly controller to code for is without doubt the Teensy 2 (or equivalent). It is based on a very stable MCU (the almighty Atmega32u4) and –even though it is not the fanciest of the controllers– it is more than enough to handle any keyboard and if you need more keys you can always switch to the bigger brother, the Teensy 2++. We’ll talk extensively about controllers and firmware in the coming chapters, for now all you need to know is that the controller will impact your project by $10-15.
Keycaps
Those pricey little pieces of… plastic! An entire book could be dedicated to just keycaps. A full set can go from gratis (ie: you get it from a keyboard you already have) to $200 and even more.
If your design is relatively simple and follows the standards of modern keyboards you shouldn’t have problems sourcing keycaps and the cost should be reasonable, but things tend to get crazy pretty fast if your layout is a bit eccentric. Even just one out-of-standard key could lead to an ever ending hunt for that missing piece so your layout has to be designed wisely.
Extras
The list could end here but since this is your own custom work nothing stops you from adding LEDs, a trackpoint, a trackball, a knob for volume control, a small display, extra macro keys or even a fully working mini PC (like a RaspberryPi). Once we get acquainted with the basics I’ll introduce some more advanced concepts and at that point your imagination will be the only limit.
This is just a quick overview, we will analyze each part in finer detail in the next chapters. There are others things to consider in your shopping list like the tools needed for soldering, diodes, wires, stabilizers, …
The question is: how much are willing to spend on it? This is your project, the result will be something unique you made. The process of building is incredibly rewarding and will abundantly repay of any amount spent.
Setting up the working area
Let’s see what we need to build a custom keyboard.
The must have
The only piece of hardware you actually need is a soldering iron. Now. I’m aware that soldering is a religion and I’m in no way an expert but the following is what worked for me.
For years I used a cheap (<$10) 30W unbranded soldering iron and it was perfectly fine. You don’t need to spend a fortune on it, head to Amazon or your trusted electronics store and pick any top seller 40-60W iron. On the other hand if you intend to get serious about DIY stuff I would recommend purchasing a soldering station. In this case, do not go for a cheap one, get a decent hobbyist/enthusiast level station, it can be a tad expensive but it will last for decades.
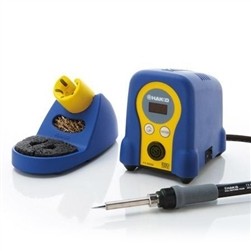
The Hakko FX888D or the Weller WES51 are two examples of decently priced good quality soldering stations. I personally own the Hakko and I can only say good things about it.
Of course you need some wire solder too. Lead-free solder is good for your health and the environment but it’s hard to master, so I tend to use the 60/40 tin-to-lead ratio kind. I don’t have a preferred brand, I just buy whatever is available at the moment but Indium and Kester brands are known to be good. As per the gauge 0.8mm (0.31″) is a perfect all-purpose size.
That’s pretty much it. You don’t need anything else but there are many tools that will make your life a lot easier.
The good to have
The soldering iron tip gets dirty during the soldering session and you may find useful a brass wire sponge or some steel wool to wipe it on. A dampened old kitchen sponge works too.
A rotary tool kit. You probably know the Dremel but you can find cheaper or better alternatives from Proxxon, Black and Decker, Bosch. What is important are the bits. Take a good set of cutting, sanding, carving, grinding, drilling, engraving bits. The more the merrier, you never know which one you’ll need. The rotary tool is probably the most important piece of hardware for any maker.
I also find myself using a glue gun quite often. If you are hand wiring your switches you may want to add some hot glue between the switches and the plate to prevent the switches to pop out when removing the keycaps.
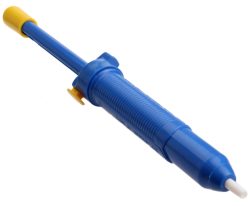
A desoldering vacuum pump (also solder sucker) comes often handy. You may want to reuse some old switches or fix some whoopsies. A desoldering pump is the easiest way to accomplish that without breaking the bank.
The nice to have
Occasionally you’ll find some very parts that don’t really like to be soldered together. Some flux can be a life saver in those situations. I find flux in paste to be very versatile, but the MG Chemicals 835-P Rosin Flux Pen is probably more practical.
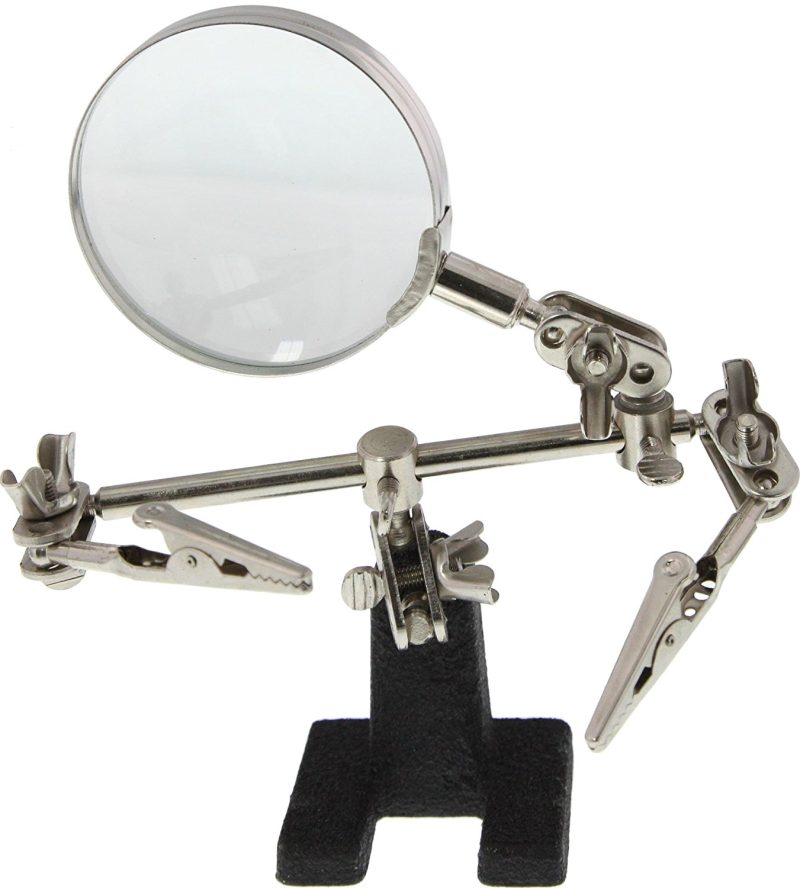
Sometimes you need to join two pieces together while holding the iron on one hand and solder in the other. At that point you wish you were an octopus. In that situations a helping hand with magnifying glass can be useful. It is inexpensive and you’ll find yourself using it for all kind of jobs (not just soldering).
More glue! The most effective in keyboard building is probably epoxy glue. It’s a two components glue that you mix together before applying. There are many kinds from many companies (eg: J-B Weld, Bostik, Loctite) but the main difference is the curing time. I noticed that the faster it cures the weaker the bond. For our purpose the standard 5 minutes dry time should be good enough, but you can find even 8-hours curing time epoxy glue.
Files and sand paper. Arm yourself with a good set of fine metal files (wood too if you plan to work with it) and 400 to 800 grit sand paper.
Sharp hobby knife, a cutting mat (the bigger the better), tweezers and a good set of screw drivers like those from iFixit.
Congratulations batman, at this point your belt should be full of nice gadgets, let’s head to the bat signal!
Comments
Which month is SA Retro dropping? Thanks!
I’d say end of summer
Thank you very much, I will try my best not to miss it.
Loving this series. Please keep it up. I would love to know how to get a full set of custom keycaps made or ways you could do them yourself at home. I have seen one chap use a hobby laser to etch keycaps after coating them with laser toner.
boy, whach you doin’
lokk at klawiatura.wordpress.com
trouble is with more than latin keys, for french, japanese or polish language
2 rotors for volume control or 3d manipulating objects and more function keys
https://www.fiverr.com/share/pdBRmN
This Guy Will laser cut Custom switch plates are any parts out of any metal for $60-$120.
Thanks me later:)
Hi! I’ve been really interested in building my own keyboard, but I just don’t feel ready to spend a lot of money on my first one. Do you have any recommendations on how I can lower the price, as it says that you’ve made prototypes for as low as $15? Thanks for the help.
if you have access to a 3d printer, printing the case would be very cheap. If you can’t do that the alternative would be laser cutting acrylic which is still relatively inexpensive. Switches are be harvested from old keyboards or you can buy clones that are relatively cheap.
You can also buy industrial/prototyping enclosure. It’s very overlooked fact.
tell me more about it!
There is a huge selection of for example wedge shaped so called prototype/industrial/electronic enclosures. Made out of many different materials – wood, playwood, steel, alu alloys, ABS, acrylic and numerous other materials. Some thin, some thick and rugged for military use. There are also enclosures shaped like these 8-bit microcomputers of the past.
They may be used as enclosures for some retro keyboard conversions or to build your own retro futuristic creations. Selection of dimensions, shapes, angles is huge. From small guitar effect wedge box good for numpad, trough few octaves wide synthesizer enclosures not bad for some bigger vintage keyboards conversions up to huge panels bringing back memories of 1950’s if you put a lot of keys on them.
Want the 70’s keyboard style white rounded wedge to match your SA keycaps? Look no further. Or metal + hazelnut ? No problem – there are enclosures in that materials. Spacecadet shaped enclosures? Just make an order at some site. Thick ABS like we used to have in 1980s? You can buy such in pretty much every color. Futuristic space station industrial aesthetic alu radiator style? You can find them online. Multi angled panels so you can have for example upper section of keys angled more than rest? There are such enclosures waiting for you. You just need to have holes cut in them – you may cut it yourself or in case of some vendors you can order cutting before shipping it to you.
Appreciate you putting this info together, but I feel it will be more complete with source links. Basically just looking for great sources for all of these parts that we need. I suppose a lot of them could be purchased on Amazon, but I’m also sure there are other sites out there like kbdfans or wasdkeyboards that need some purchase love too.
that is true, but there are really too many and they come and go every day. The list would be outdated very quickly.
I’ve designed and cut a keyboard out of acrylic, my problem is I need a way to give it an angle while typing, do you know of anything I could use?
I’d say the easiest is to 3d print some feet
Sorry, comments are closed but you can still get in touch with the contact form.