By now you know that I’m a 3D printing freak. The evolution of resin 3D printers in these last few years has been exponential, not only from a technological point of view but also for accessibility and resin quality/range.
I’m being using 3D printing for prototyping since some time and with the right resin you can actually print fully functional keycaps you can use day to day and in any size you need. The only issue is the legends. How can you have doubleshot-like keycaps with 3D printing?
Well one option is to use a filament printer with multi-material. That is perfectly viable solution but FDM quality is not really what we are aiming for, right?
So, I took a few caps from the new profile I’m designing carved some experimental legends on them and tried to fill them with resin and epoxy putty.
The end result is far better than I expected so I think I would share the process.
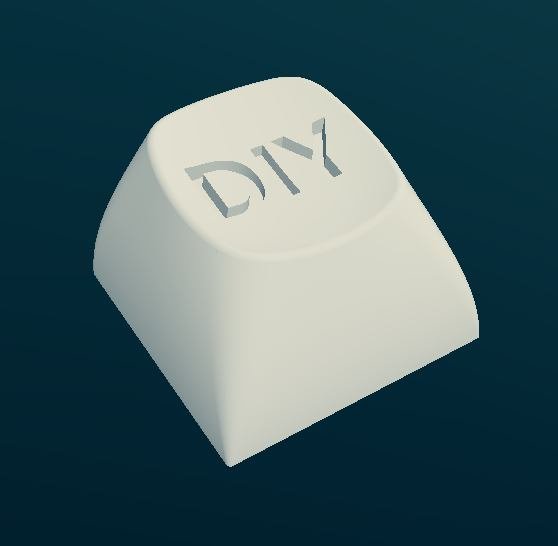
First step is to carve some legends out of the 3D model, that can be easily done with any 3D software and a simple boolean subtraction.
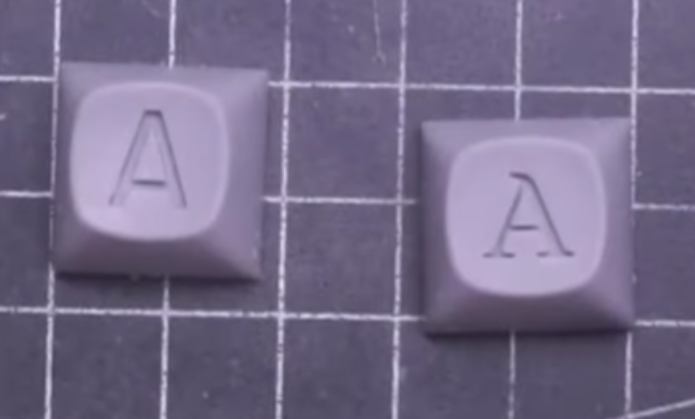
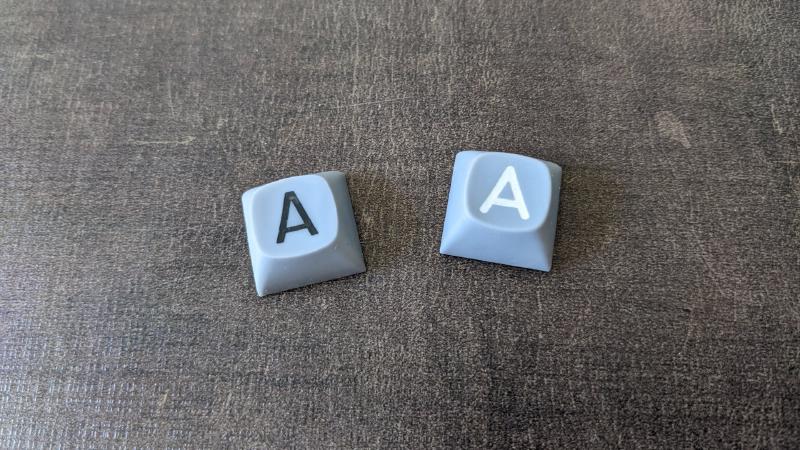
I made two tests: the black one is by filling with UV resin and then sanding off the excess; for the white one I just filled the legend with some epoxy putty (Magic Sculpt I believe is the best, but also Milliput should work) and removed the excess before it was set with water.
The resin version has a better texture and it’s completely flush with the top surface, but requires more time for post processing. The epoxy clay is faster to do so it might be better if you have dozens of keycaps to fill but putty shrinks a little while curing so it’s not perfect (but still perfectly viable).
If you want to tinker yourself with this technique I made a keycap for you.
The whole process is also documented in a short video.