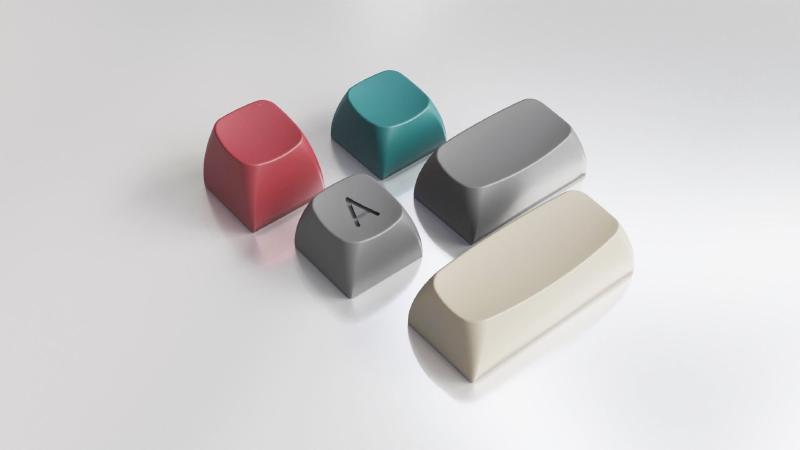
It’s a long time I wanted to release a fully open source keycap profile that is easy to customize and pleasing to the eye. It’s relatively easy to create a keycap with a parametric CAD software like Fusion 360 or Solidworks but this solution has some limitations. These software are generally expensive, some can be used only on Windows and often you don’t actually own your designs as they are stored on the cloud and the companies can alter their end user agreement at any time limiting or even denying access to your work.
A sane alternative would be FreeCAD. Ohboy! I would love to love FreeCAD. I started designing the OPK profile with it but my enthusiasm quickly faded when confronted with the reality of a very complicated workflow not to mention the bugs and the crashes.
My plan B was always OpenSCAD, it’s pretty much the standard of “programmatic” CAD but it’s a little slow even on my beefy PC and things get very complicated very fast. Also as far as I know there’s no easy way to export a STEP file in OpenSCAD which is a huge drawback.
I was just in the midst of losing hope for the project when I discovered CadQuery. CadQuery (CQ) is a Python module for building parametric 3D models; it’s based on Open CASCADE and generates “lossless” features that can be easily converted to a lossy format (like STL) when needed. Moreover the scripts are in a familiar programming language, Python, so expanding your code is extremely simple. I gave it a quick spin and was immediately surprised by its power and low learning curve. Faith restored! The Open Programmatic Keycap profile can be done! (terrible name, I know).
Let’s start from the end. The project is on GitHub, it’s open source (Apache License 2.0) and very much welcomes your help. If you already know CQ and/or Python, head to the repository, play with it and let me know what you think.
I know there are a few projects like this already, mostly in OpenSCAD and possibly Fusion 360, but I think this is the only one that is fully open source, multi platform, can export STEP and it’s actually a nice profile to look at :P
If you know nothing about coding or python or CAD, worry not, it’s pretty easy to get started and you can just export the files for 3D printing or rendering.
Getting started
First of all you need to install CadQuery, the easiest way to get started is by installing the CQ-Editor. it comes bundled with CQ and doesn’t need complex installation. I personally use the development packages, if something doesn’t work with the official release, try with the latest development.
Now that you have CQ-Editor installed, download or clone the OPK repository, load the keycap.py file and hit Render in the top bar (or press F5)!
Boom! Done! Your first keycap is ready to use and should be something like the picture below. You can download it from the Tool > Export STL menu.
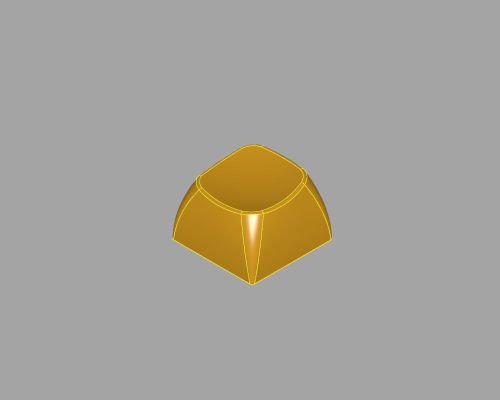
The keycap.py file should have two lines similar to these:
cap = opk.keycap()
show_object(cap, name="keycap", options={"alpha": 0})
The first one is where the magic happens, the second is just to display the model in the 3D view.
The default key is what could be a standard row 3, but let’s do something taller and more angled.
cap = opk.keycap(angle=10, height=16)
That will result in what could be a row 1.
What about bigger or stabilized keys? I got you covered!
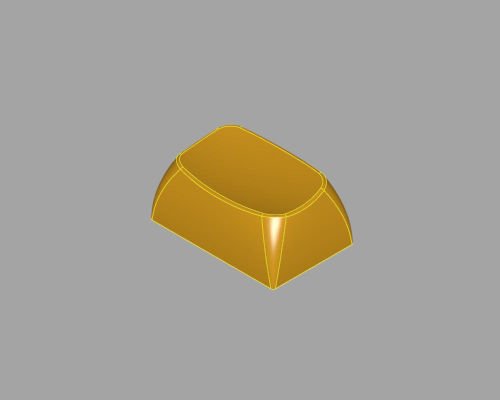
This would be a 1.5U modifier. The code is simply:
cap = opk.keycap(unitX=1.5)
Spacebars?
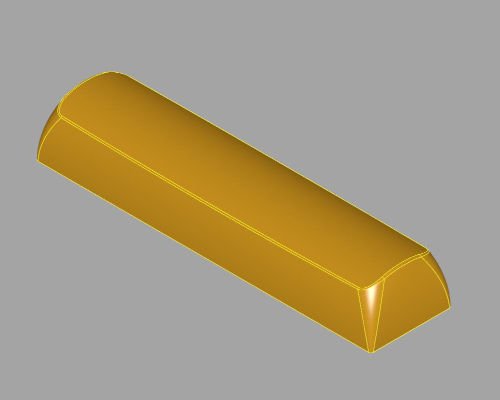
Piece of cake:
cap = opk.keycap(unitX=4, convex=True)
I bet you got the gist of it by now. At the very top of the opk.py file you find the list of all the parameters you can use to personalize the keycap, they are pretty self explanatory and well commented
def keycap(
    unitX: float = 1, # keycap size in unit. Standard sizes: 1, 1.25, 1.5, …
    unitY: float = 1,
    base: float = 18.2, # 1-unit size in mm at the base
    top: float = 14.2, # 1-unit size in mm at the top, actual hitting area will be slightly bigger
    curv: float = 1.3, # Top side curvature. Higher value makes the top rounder (use small increments)
    bFillet: float = 0.5, # Fillet at the base
    tFillet: float = 4, # Fillet at the top
    height: float = 12, # Height of the keycap before cutting the scoop (final height is lower)
    angle: float = 7, # Angle of the top surface
    depth: float = 2.5, # Scoop depth
    thickness: float = 1.5, # Keycap sides thickness
    convex: bool = False, # Is this a spacebar?
    legend: str = "", # Legend
    font: str = "sans serif",
    fontsize: float = 10
):
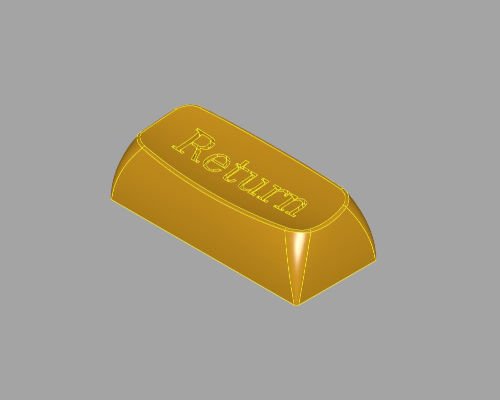
You probably have noticed the last few options, they are to add a legend to the keycap. Support is rudimentary at the moment but you can set text and font and it will be carved from the top of the model like so:
Export the 3D model
At some point you’ll want to export to STL or STEP. If you want to do modifications with software like Fusion 360 you should export to STEP, you can then import the model and make all the customization you want in a more user friendly environment.
If you want to go straight to Blender or a 3D printer you can save to STL.
Either way the process is super easy:
cap = opk.keycap()
show_object(cap)

exporters.export(cap, 'keycap.stl', tolerance=0.001, angularTolerance=0.05)
exporters.export(cap, 'keycap.step')
You can play with tolerance and angularTolerance to increase/decrease the quality, but what is shown above is a pretty good starting point. If you know python you can automate the creation of multiple keycaps, which is something I’ll be working on in the coming days anyway.
Please Note: this is just the beginning
First of all let me stress on the fact that I’m not an experienced coder, I did very little python in the past and I just started working with CQ. Things are messy and very much in beta stage.
If you know your ways through CQ and you are willing to help, feel free to play with the code and send a pull request! I’m just a tinkerer and I mostly throw code at the editor until something happens.
There are A LOT of things that needs to be done, this is just the beginning and I already have a very long list of things to fix, but it takes quite some time and I’ll keep working on it if there’s some kind of interest.
Please join my Discord if you want to discuss OPK or just to say hi :)
The current TODO includes:
- add support for vertical key
- add stepped key
- add ISO Enter
- add 2U pos-like stabilizers
- add support for logos and graphical legends
- add reinforcement for big keys
- better legend centering
- clean up the code
- automatic export script of all needed keycaps for a full keyboard
- output files already supported for 3D printing
- online editor
- add secondary/tertiary legends
- add support for stems other than cherry
- fix negative angle top
So… yeah… a lot to do still…