How much does a custom keyboard cost?
That is one of the most common questions I’m asked. There’s definitely a lot of interest around DIY keyboards and the main concerns are: 1) the technical/practical aspects, 2) costs.
Sometimes you just want to try an idea you have in your mind but you are not sure it is really going to work. Building a prototype may end up in the $150-200 range, but big part of the budget goes into the case.
Trying to cut prototyping expenses I wanted to test the feasibility of a cardboard case. Is it stiff enough? Do the switches fit nicely? Is the keyboard actually usable? Let’s go find out.
Preparing the cardboard
First of all, pick the right cardboard. You need solid, thick and dense cardboard. It must not be the corrugated fiberboard used as standard packaging material. I actually got mine from an old shoes box.
The thickness should be around 1.5-2mm, you can of course also glue a couple of sheets together as long as the end result is stiff and solid.
To increase stability it is very important to reinforce the cardboard with some glue or varnish. You can use standard white glue, wood glue or even wood varnish.
Dilute the glue with water (I’d say 1:1 ratio) and apply a first thin layer so the cardboard is well soaked in it. Leave it to dry 2-3 hours under direct sun light. Then give a second hand of glue, this time thicker though (2:1 or 3:1 ratio). When dried you should have a nice and robust sheet ready to be cut.
Please note that varnishing can be also done after you have cut the switch holes. That should make the cutting session a little less tedious :)
The case design

Time to design our box. For the sake of this experiment I’ll do a pretty standard numpad but the same can be applied to any design. My main concern was about stabilizers; costar seemed a good idea but in hindsight it was not.
I used Draftsight and Inkscape (both free) to design the case taking a cardboard box I had around as reference.
The plate (or actually the top side of the box) can be designed like you’d normally do for a standard keyboard with an important difference. Cardboard is rather flexible and you won’t be probably be razor sharp when cutting it, so the standard switch distance (normally 5.05mm between two 1u keys) should be incremented quite a bit. For my case I brought the 1u-1u distance to 6mm, but the more the better and I feel at least 6.5mm would have been better. That also depends on the keycaps you are going to use. I put on my prototype SignaturePlastic SA family and they are notoriously bulky.
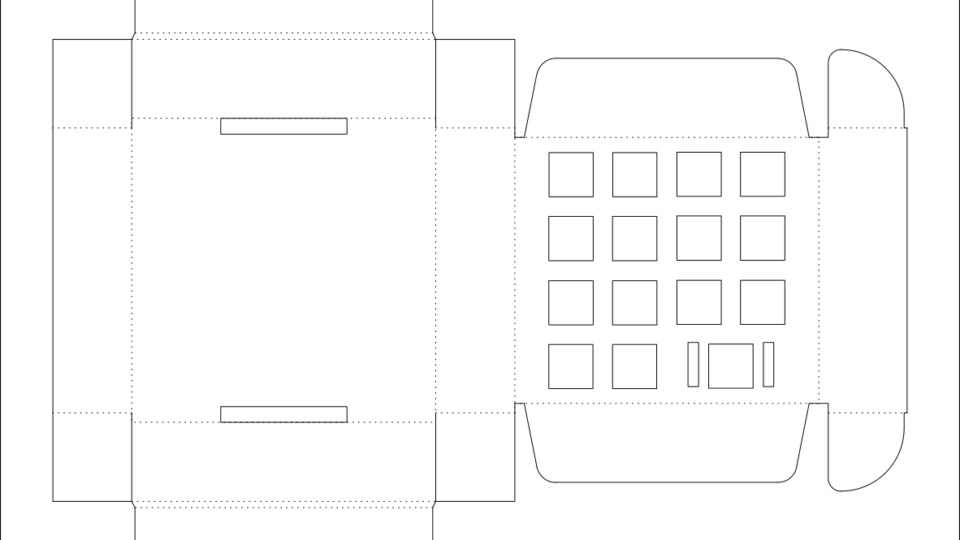
Once the switch holes are finalized you can simply build the unwrapped box around it. You can find my case design at the bottom of this post.
All left to do is to print the design and cut everything out. In my drawing the dashed lines are where you need to bend; the straight lines are the cut points.
I felt a little creative and gave the box a two-tones paint job.
Putting all together
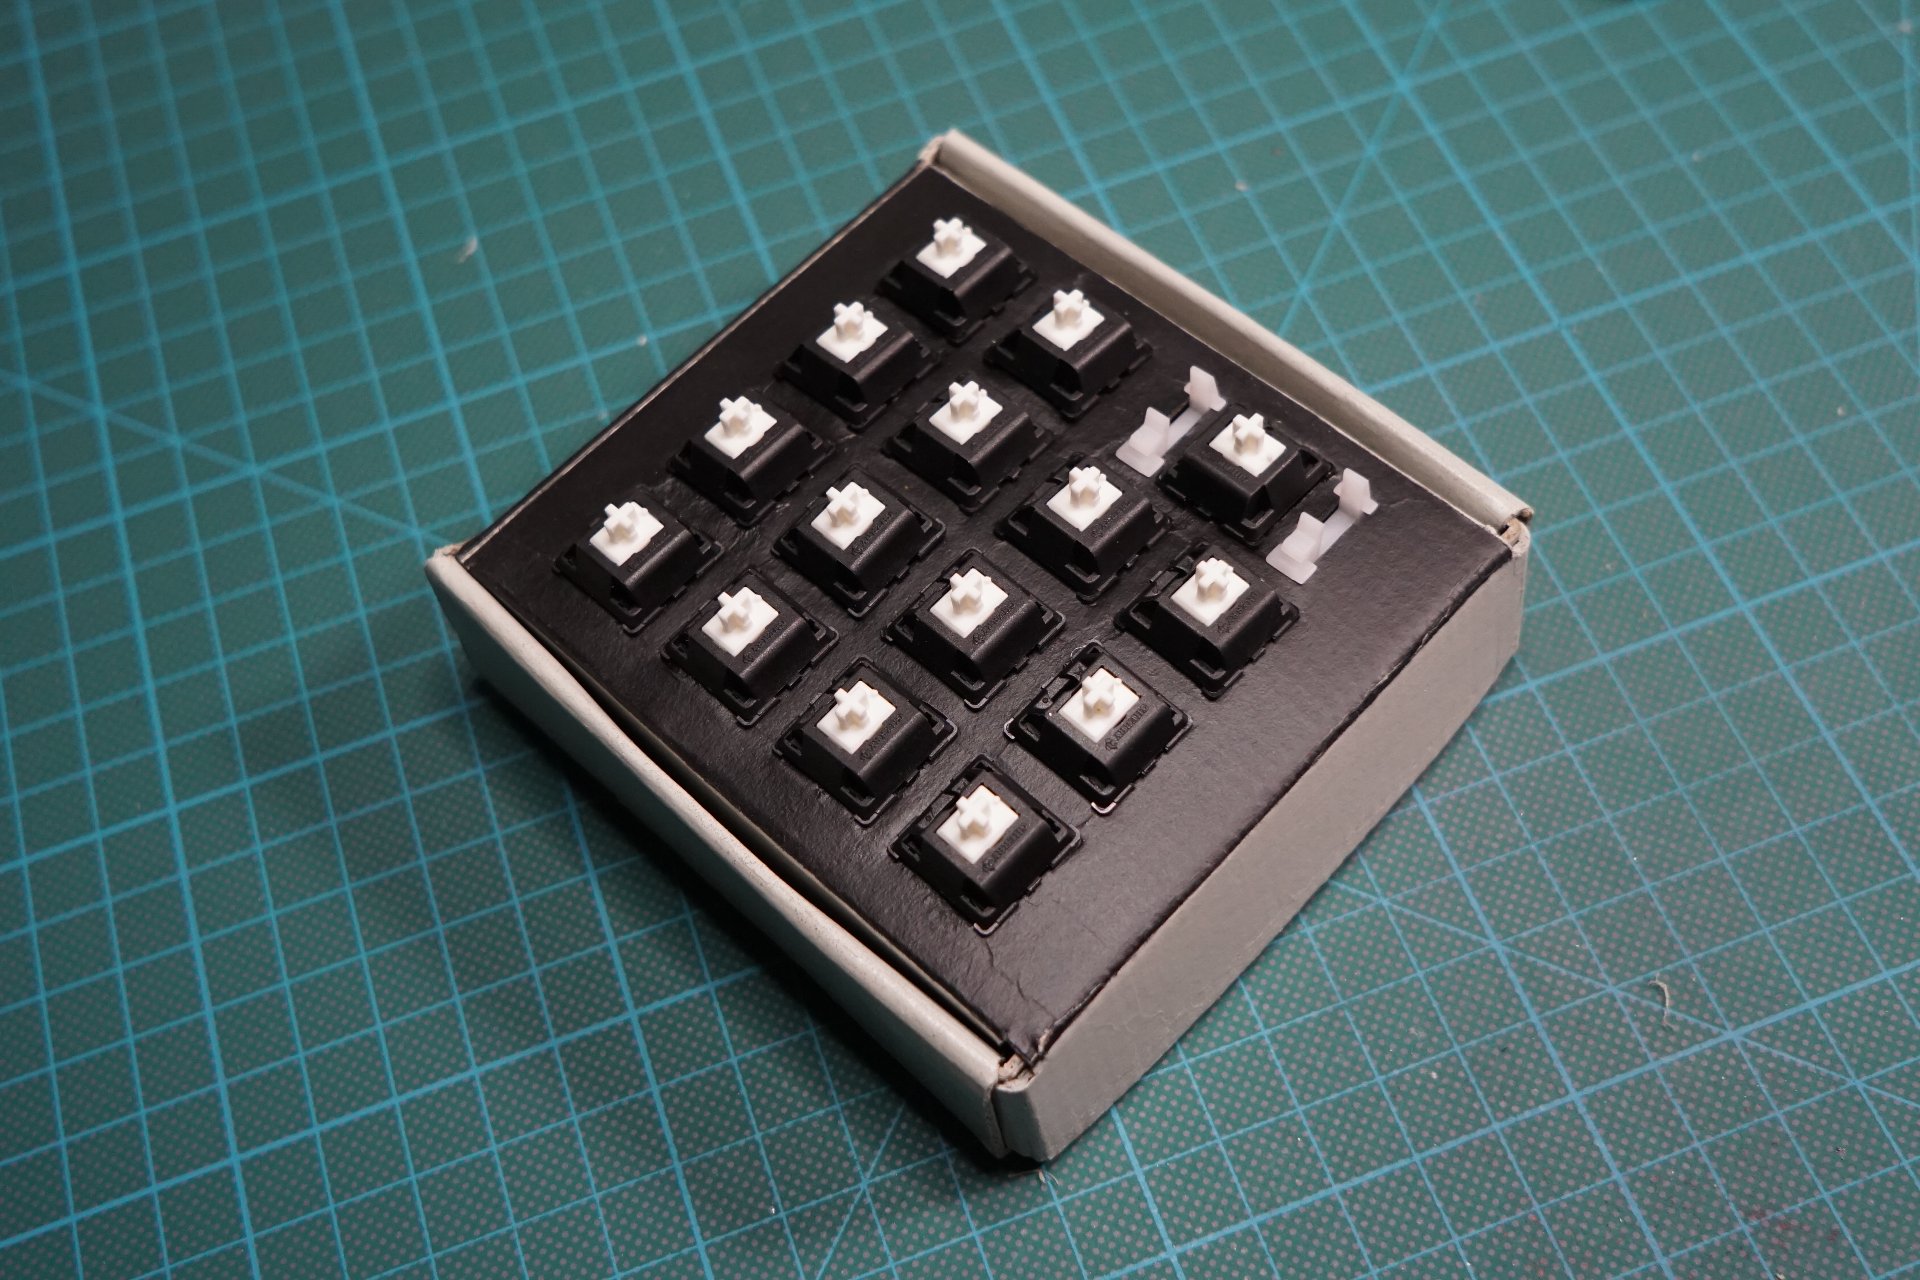
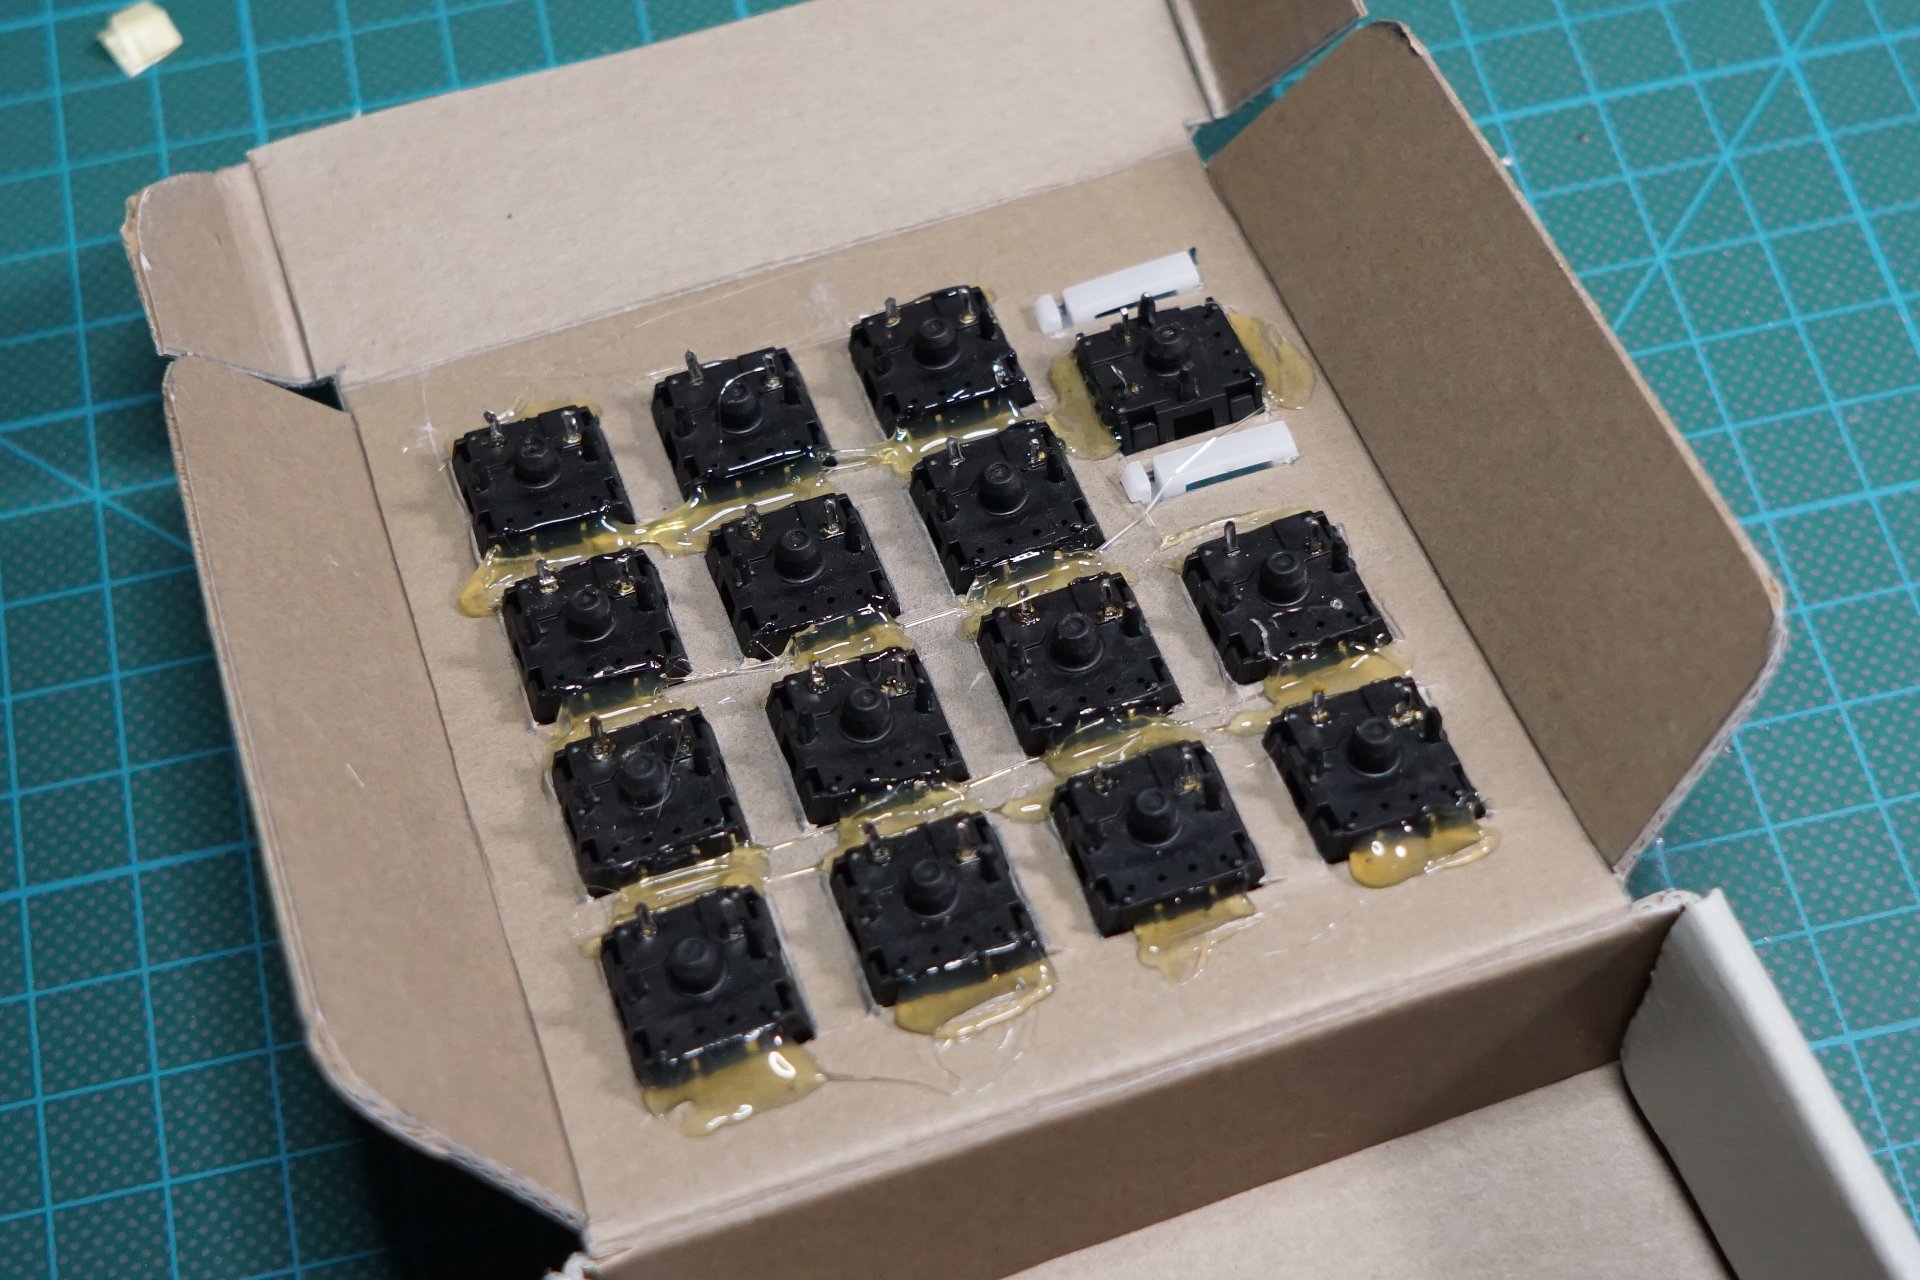
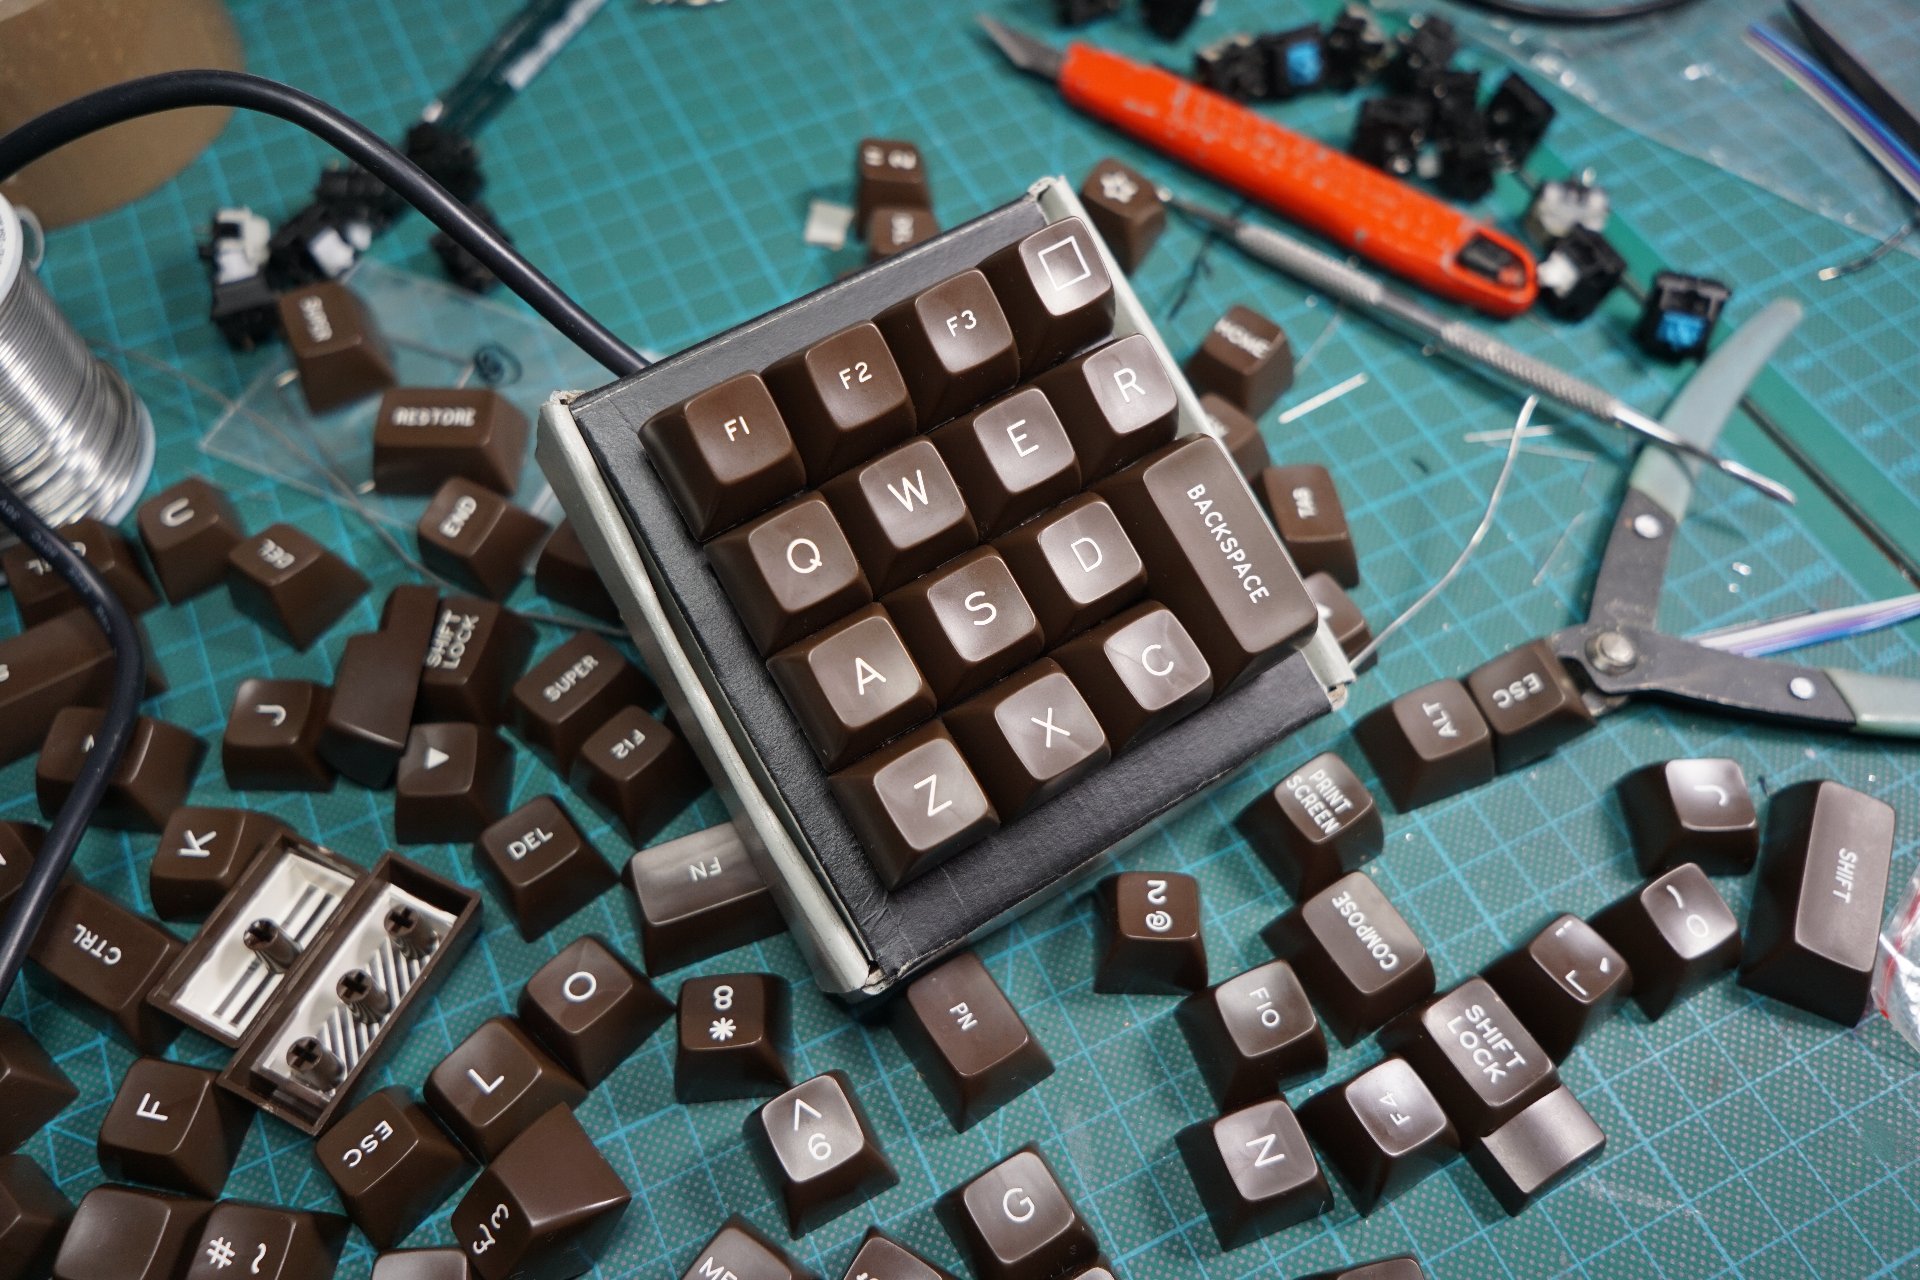
Time to place the switches and see if they fit. I was pretty lucky and everything worked out of the box. Only problem being the switches are not as tight as I would have liked so I added a generous amount of hot glue. When the glue was set, the keypad already felt pretty nice and sturdy.
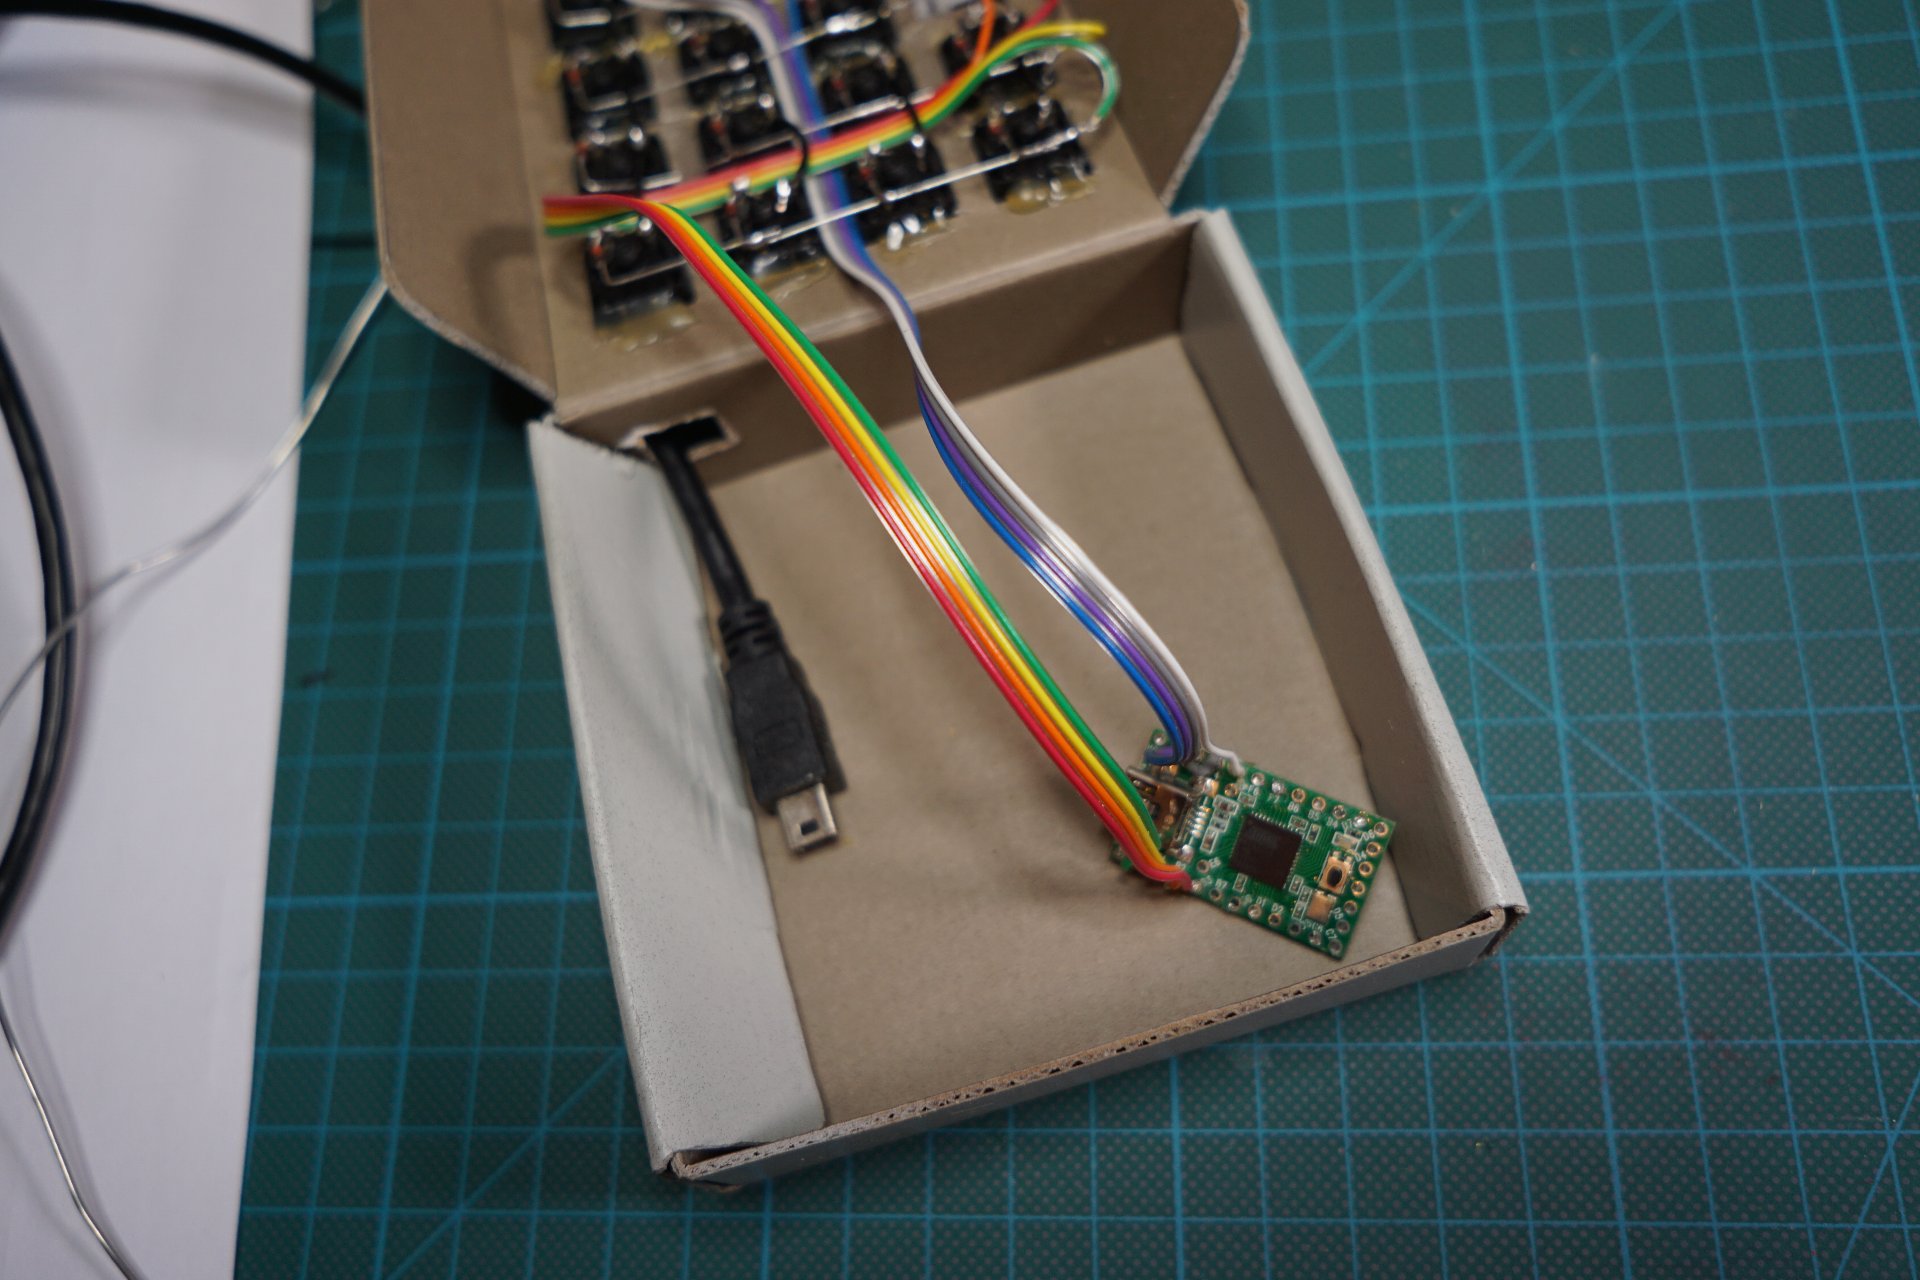
Next step: hand wiring. As always rows are connected directly with diodes and columns with carefully peeled wires. Fortunately the keypad doesn’t have many switches and the wiring session was ready presto!
Columns and rows go straight to a Teensy 2 and the teensy to a mini USB cable. Of course I forgot the cable hole on the case, but that was easily fixed with a hobby knife.
I left it loose inside the box, but fixing the controller to the case might be a good idea. Just a couple of strips of duct tape would do.
Firmware
The firmware is of course Hasu’s TMK, nothing too fancy here, you can download the files for my layout at the bottom of this page and adapt it to your needs. Just put the files inside a directory under the TMK keyboard folder and compile!
Conclusions
So, does it work? Well, kind of.
I can’t say the numpad looks fancy, but it works. The stabilized key is not 100% smooth and I’m afraid there’s little we can do about it. I would like to try a cherry stab next time; if you build your cardboard case, please let me know how the stabilizers worked for you.
The cost of the case is basically zero, the switches were second hand and I already had the keycaps, so the cost of this experiment was just $12 for the Teensy. I’d say it’s pretty darn good for a prototype.
At the end I believe you can build some pretty decent keyboard out of cheap materials. I would suggest building something like a small function-pad (4-8 switches tops) out of cardboard if you are experimenting with DIY keyboards for the first time. It’s a quick and inexpensive way to practice.
Honestly I wouldn’t recommend cardboard for a fullsize keyboard, the material is too bendy to be comfortable to type on a regular basis. But I guess the lesson here is that custom keyboards don’t need to be expensive if you apply a little creativity!
Comments
Love you work and the detailed step by step guidance is really helpful! Maybe try one when I have time.
Sorry, comments are closed but you can still get in touch with the contact form.